We take all our pics at our highest camera resolution and upload them to our PC intact. Often we need to resize them (make them a smaller file size) so that they can be emailed or blogged in such a way that the receiver of the email or blog post can download them quickly.
You can do the same thing in Google Picasa and any number of other programs but, to my knowledge, this is the only way to do it within a Windows file explorer window.
Here's what ya do:
1) To Get the Windows XP Image Resizer, click on the link below, scroll down the page and click on the ImageResizer.exe file. Follow the directions and install the program on your PC. If you are worried about viruses, save the file (rather than running it) and scan it with your virus software - then run it.
2) Navigate to the location on your PC where you have photos that you want to resize. Hover your cursor over a photo of interest and a small box will pop up. The last bit of info. is the file size. In the case below, the file size is 1.04 MB. This is a large file - much larger (and slow to download) than necessary for most emailing and blogging.
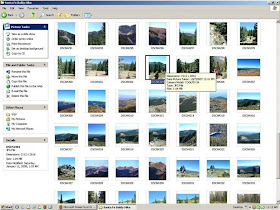
You can also right-click on a picture file icon and then choose "properties"....
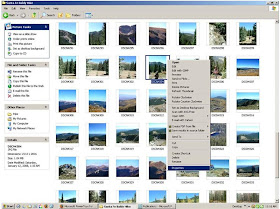 ...to see details about the file:
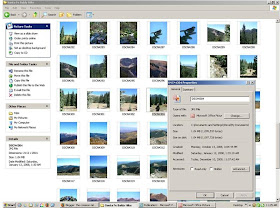
Now that you know your file size, you can resize if necesary. If you have succesfully installed the picture resizer program you should see a "Resize Picture" option when you right-click on a picture file icon:
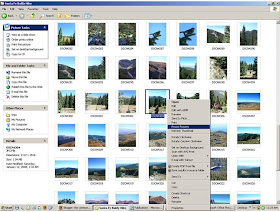
Choose this option and you will see a "Resize Pictures" dialog box:
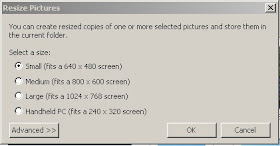 Click the "Advanced" button to reveal more options. We usually choose the "medium: option and click "ok"
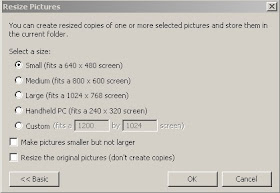 Go back to the location of the original file and, presto, there will be a resized version in that same place. If it's not right next to the original, look around for it - it may be at the bottom of the list of icons. Hover your cursor over the resized version and, in this case, you'll see that the new file is a mere 56.6 KB - that's quite small compared with the original 1.04 MB.
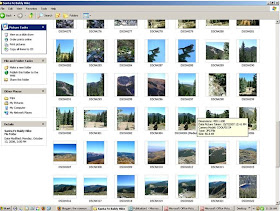
So, after all this, what (you may ask) is the point? Let's illustrate - here's the original (1.04MB) file, click on it:

Now, click on the resized (56.6 KB) version:

Use the smaller file size for emailing and blogging and your recipients will thank you!
Great tip! What's your advice for us Vista people? Ha Ha. Resizing photos always seems so time consuming. . .
ReplyDeleteI'm with Lo Christine....I have Vista and I always opt to not resize for my blog...takes too much time and I don't want to permanently alter my photos in my file. Hmm...
ReplyDeleteI'll explore Picassa more, but I don't see how to easily do it there. If you come up with anything for Vista, let me know! Thanks!
Still kinda time consuming, but I found this good idea here:
ReplyDeletehttp://www.yourpcpartner.com/resizing_photos_with_windows_vista_video_tip.htm
Hey all. We will look into the Vista stuff and see what we can find! Thanks for the tip NW Nature Nut!
ReplyDelete