 SUPPLIES:
 Natural objects
White Paper
Color Copier
Canvas Board (can purchase in packs from any hobby store)
Mod Podge
Paint Brush
Rag
Fine-tipped Pen (optional)
Exacto Knife
Cardboard or other material for cutting on
Step 1: Gather any sort of natural object or really whatever sparks your fancy and arrange them on your color photo copier. Hint: know your canvas board size so you can arrange your objects in a way that will fit!
 Step 2: Lay a sheet of white paper over the top of your objects to be copied. I find the object colors are richer this way than if you just lay the copier down on top.
 Step 3: Make a color copy and make sure you like how your print fits on your board.
 Step 4: Gather all your gluing supplies.
  Step 5: Paint Mod Podge onto your canvas board, thinly but completely making sure to get the corners and edges.
Step 6: Fit your print onto the canvas board. There will be overhang that will be cut off after drying.
 Step 7: Use your hands to press your print onto the canvas board.
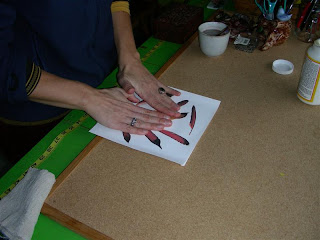
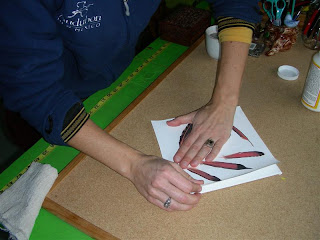 Step 8: As the print absorbs the Mod Podge moisture, you will get wrinkles in your paper. You might need to pull up an edge or two to help smooth, but the main smoothing technique is...
 Step 9: by using a RAG. You can use swipes on the white portion of your print, but only dab/dob on top of the ink from your copier. I find if I swipe on those, the paper is likely to tear. At some point you will think, "Oh my gosh - I've ruined this. It is all wrinkles." Fear not. Keep swiping and dabbing/dobbing with your rag and the wrinkles will go away. Make sure you swipe the edges.
  Step 10: Let your wrinkle-free glued print sit for 24 hours to dry.
 Step 11: After the drying period, write any words you would like on your board. Be careful with the pen type you choose so it does not bleed more than you want it to.
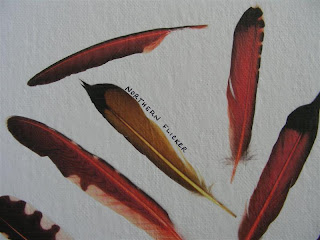 Step 12: Gather your cutting supplies. I like to use a piece of cardboard to cut onto so I don't cut up my table or really dull my knife.
 Step 13: Turn your glued print over and cut along the edges with your Exacto knife removing the excess paper. Go slow and make sure you don't cut into your canvas board.
 Step 14: Admire your creation and create lots more!
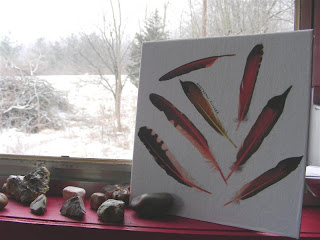
Here's an example with leaves I collected in downtown Santa Fe in 2007.
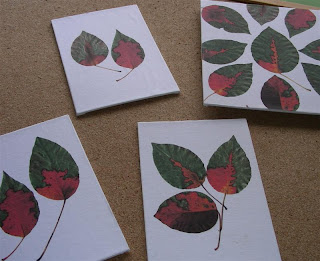
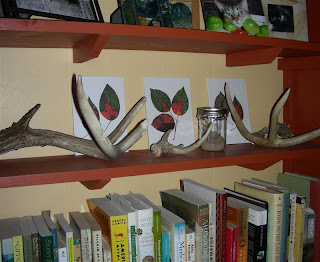 Use your imagination and if you make some send photos. I would love to see them!
NOTE: It is illegal to collect feathers and other artifacts from many birds. This law came out of the time when many birds were slaughtered for feathered hats, etc. If you use feathers or other bird objects, make sure to put them back outside. You can learn more regarding this topic here.
wow this looks like fun. I have been getting back to my printing roots . very interesting
ReplyDelete